Sculpt Tool
Warning
Currently editing of the animated meshes is not supported.
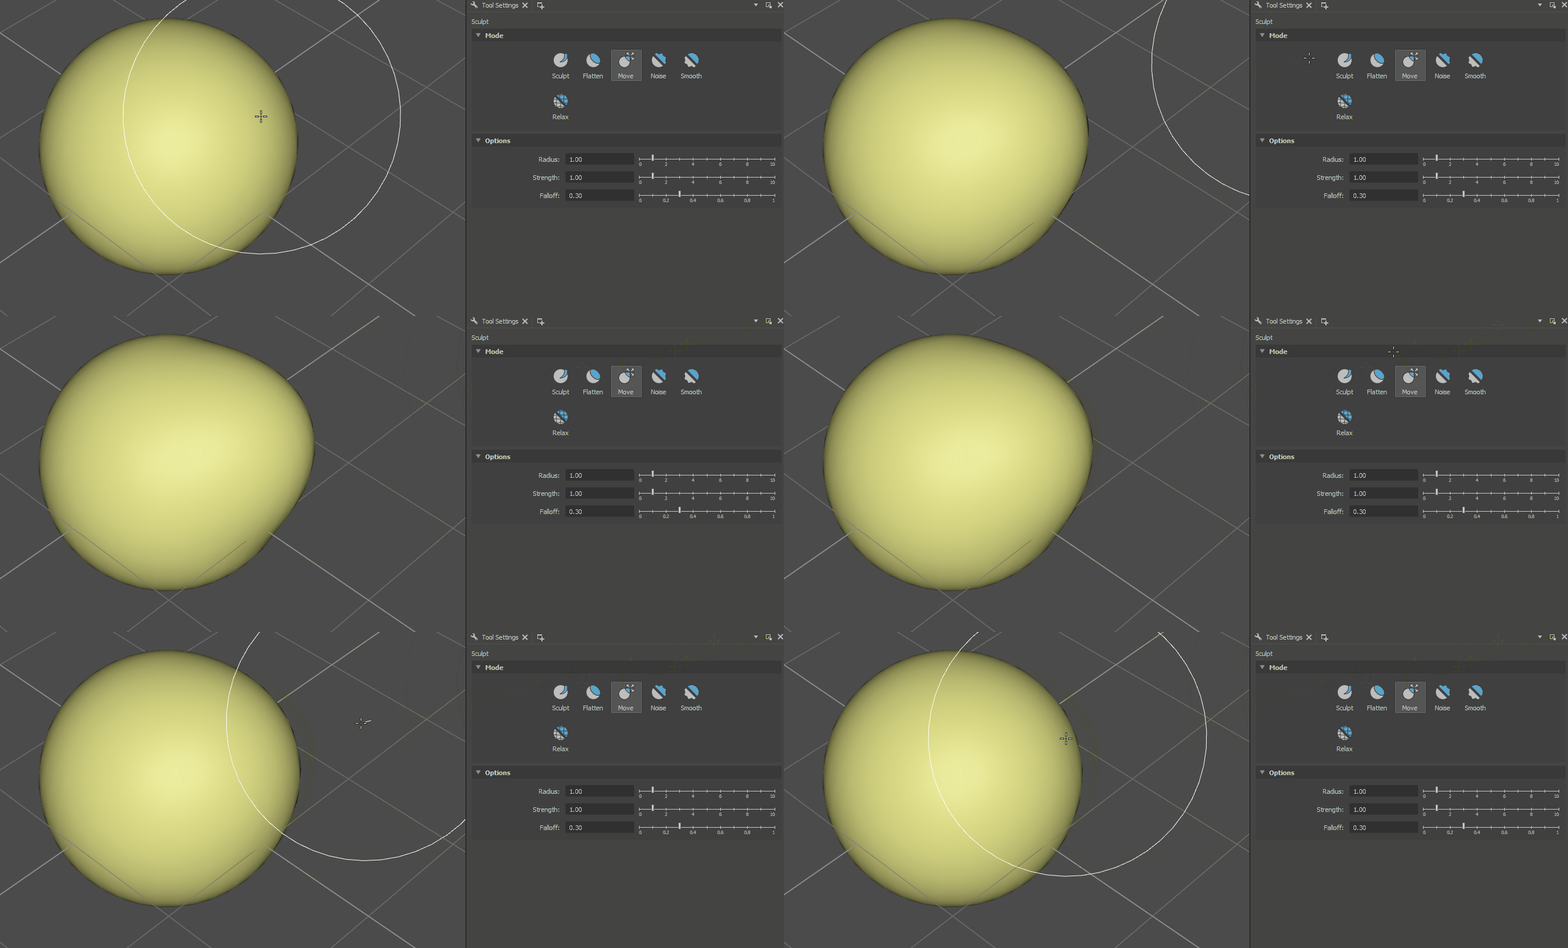
The Sculpt Tool offers an intuitive way to modify polygonal mesh surfaces. Unlike the methods that require selecting and manipulating individual elements, this tool enables a more organic, free-form workflow.
The Sculpt Tool uses a virtual brush to interact with the mesh surface. Adjustable parameters determine the brush’s area of influence and behavior, providing control over the sculpting process.

Sculpt Tool Settings
Use the Tool Settings Panel to control the Sculpt Tool’s parameters:
Tool Name |
Icon |
Purpose |
|---|---|---|
Sculpt |
|
Builds up initial forms and moves vertices in a direction determined by the average of all normals within the boundary of the tool cursor. |
Flatten |
|
Levels affected vertices by moving them toward a common plane. |
Move |
|
Displaces vertices directly. This mode shifts the mesh surface along the brush’s path in the view plane. |
Noise |
|
Levels vertex positions in relation to each other by averaging the positions of vertices. Applies procedural randomness to the surface, adding texture and variation. |
Smooth |
|
Averages vertex positions for a more even surface. |
Relax |
|
Distributes vertices evenly to reduce stretching or compression artifacts without affecting its original shape.. |
Options:
Radius: Determines the brush size and area of influence.
Strength: Controls the intensity of the sculpting effect. Higher strength results in more pronounced changes.
Falloff: Controls how the sculpting influence diminishes from the brush’s center. Linear falloff creates an abrupt transition, while smooth falloff provides a gradual blend.


