Outliner
The Outliner presents a structured list of all scene objects in an outline format. You have the ability to expand or collapse branches within the hierarchy, with lower levels neatly indented under higher levels.
The Outliner reveals objects typically hidden in view panels, including default cameras and non-geometric nodes like shaders and materials. You can customize the Outliner’s display by using the options in its Display and Show menus to control which nodes are visible.
By utilizing options in its Show menu, you can manage the visibility of objects displayed in the Outliner, such as Undefined prims (Overs) and Abstract prims (Classes).
Searching Nodes
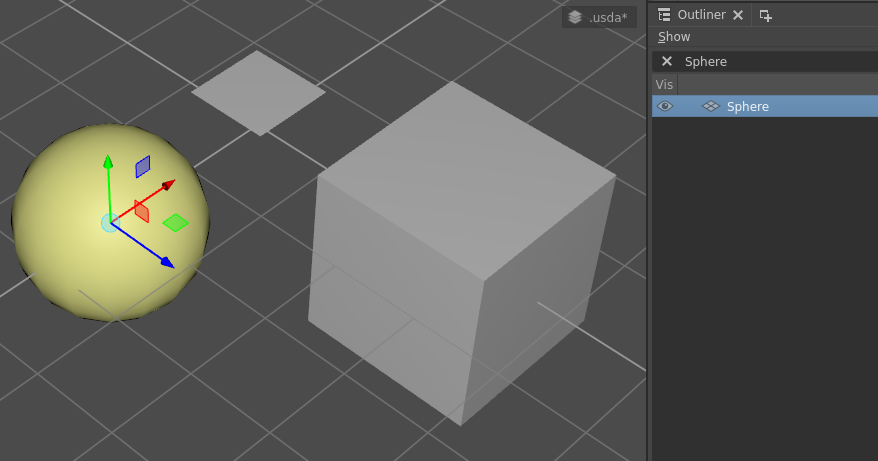
You can easily search for specific nodes by name within the Outliner by using the search menu located at the top of the panel:
Changing Hierarchy
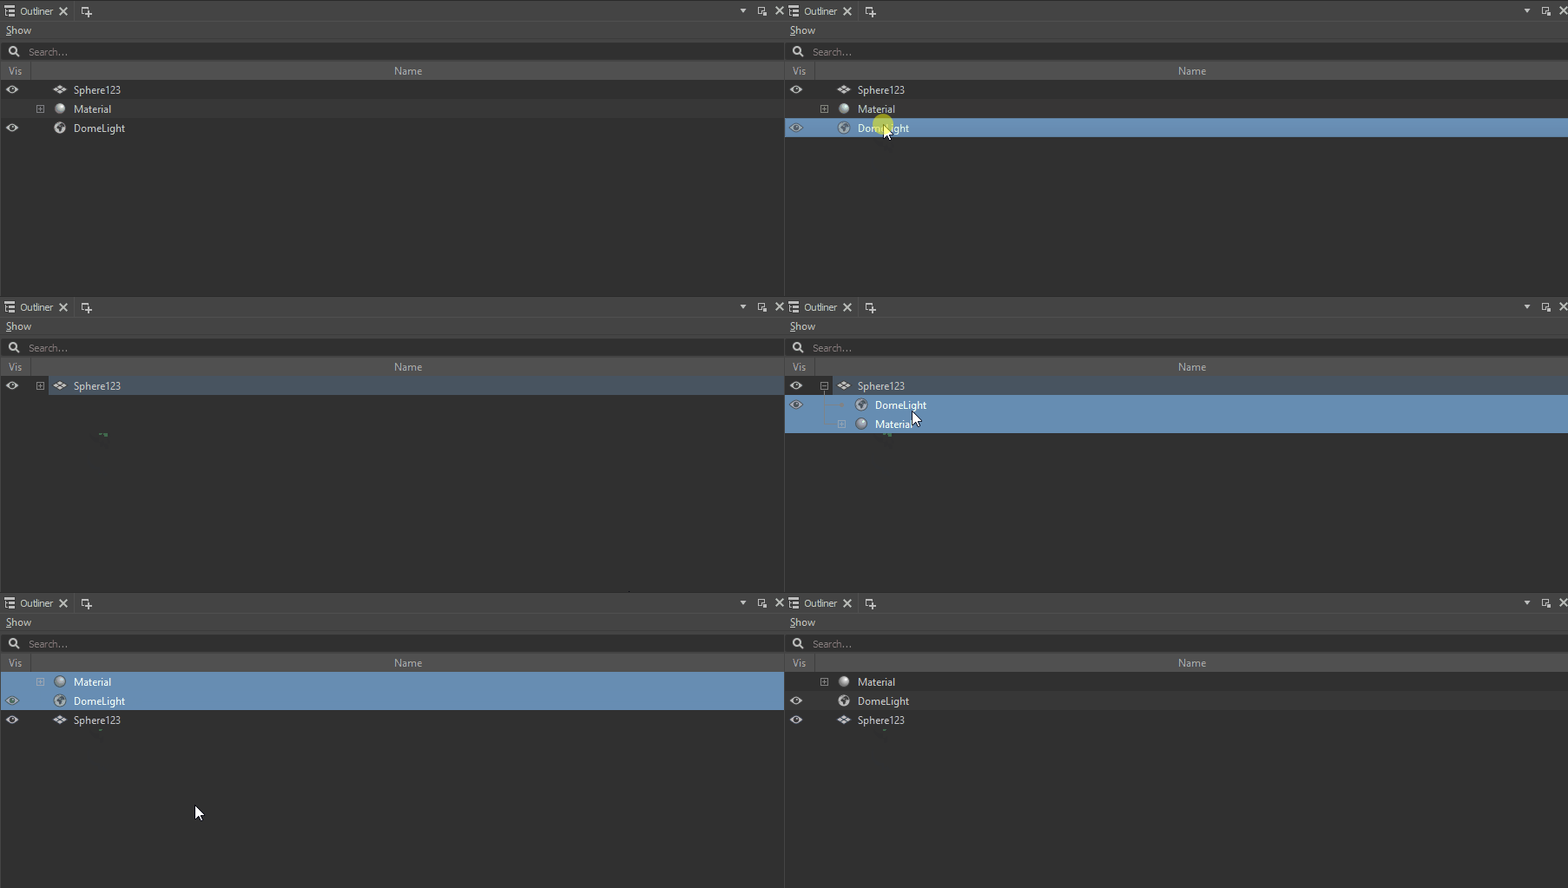
The Outliner panel allows for changing the Node’s parenting. Drag the elements of the outline using MMB to parent or unparent the selected Nodes:
Outliner Fields
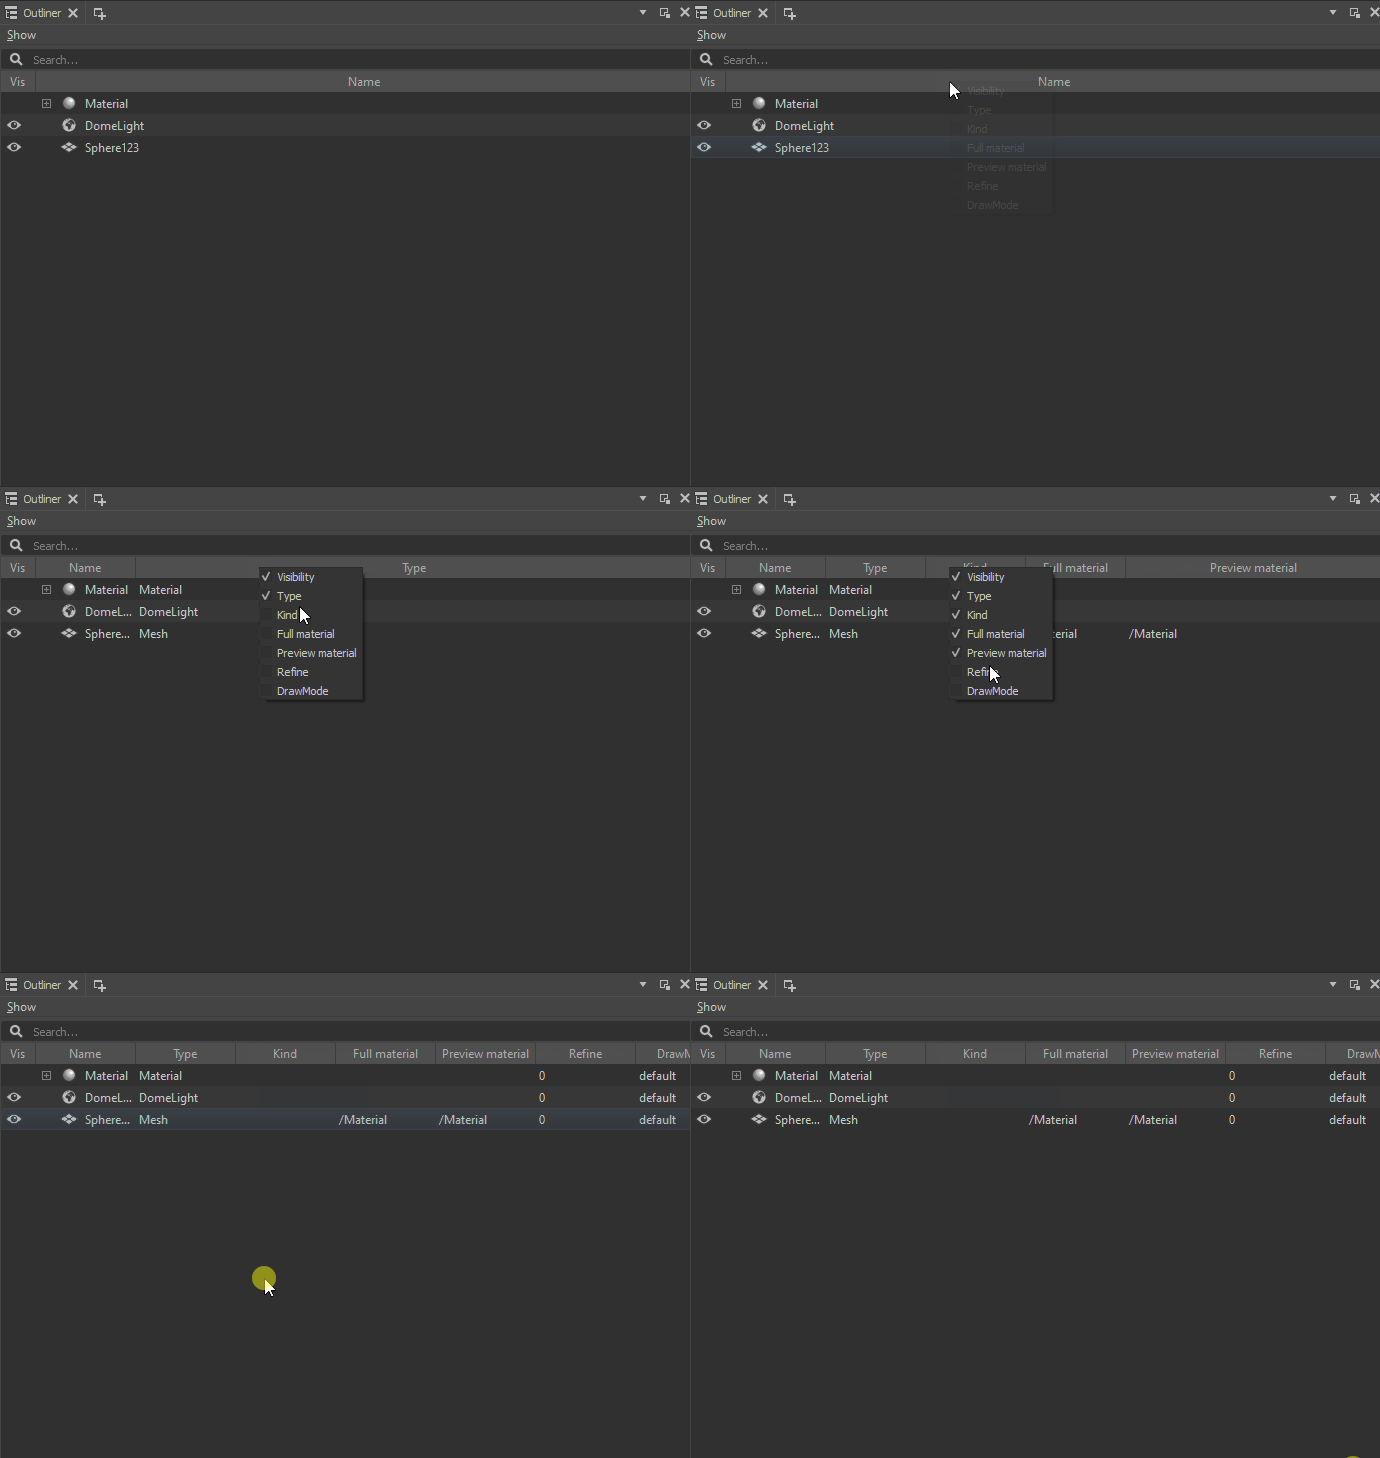
By clicking to the bar of the Outliner fields with RMB, the user can control which fields are visible in the panel:
Field name |
Description |
|---|---|
Visibility |
Controls whether the node is visible in the Outliner. |
Type |
The type of the node. |
Kind |
The kind of the node. |
Full Material |
Displays the full material path for the node, including the material name and its location within the scene hierarchy. |
Preview Material |
Shows a preview of the material assigned to the node. |
Refine |
Displays the refine level for the node, which can be used to control the level of detail for rendering in the Viewport. |
Draw Mode |
Shows the draw mode for the node, which can be used to control how the node is rendered.
|
Controlling Refine Level and Draw Mode
The Refine Level and Draw Mode can be switched in the corresponding field by double-clicking the displayed level or mode:
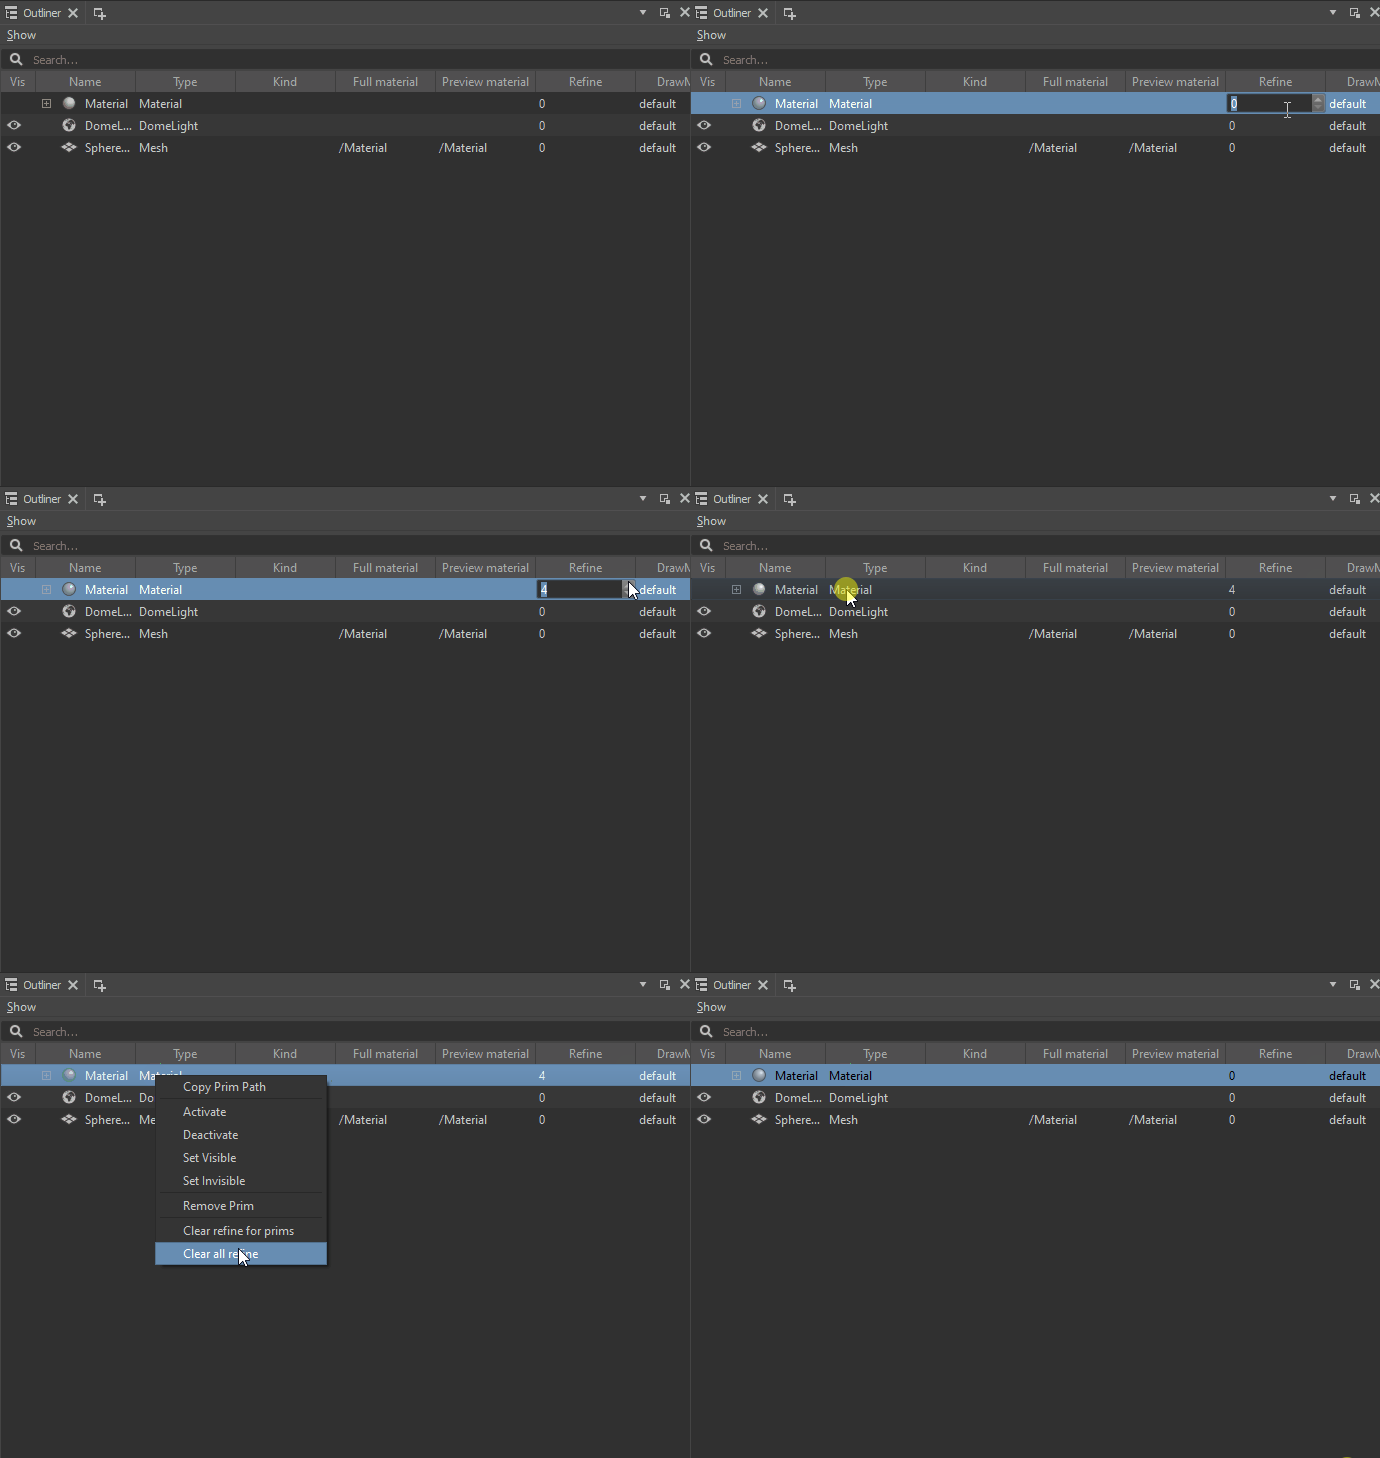
The Refinements can be erased using the context RMB menu using the Clear refine for prims or Clear all refine options.
Renaming Nodes
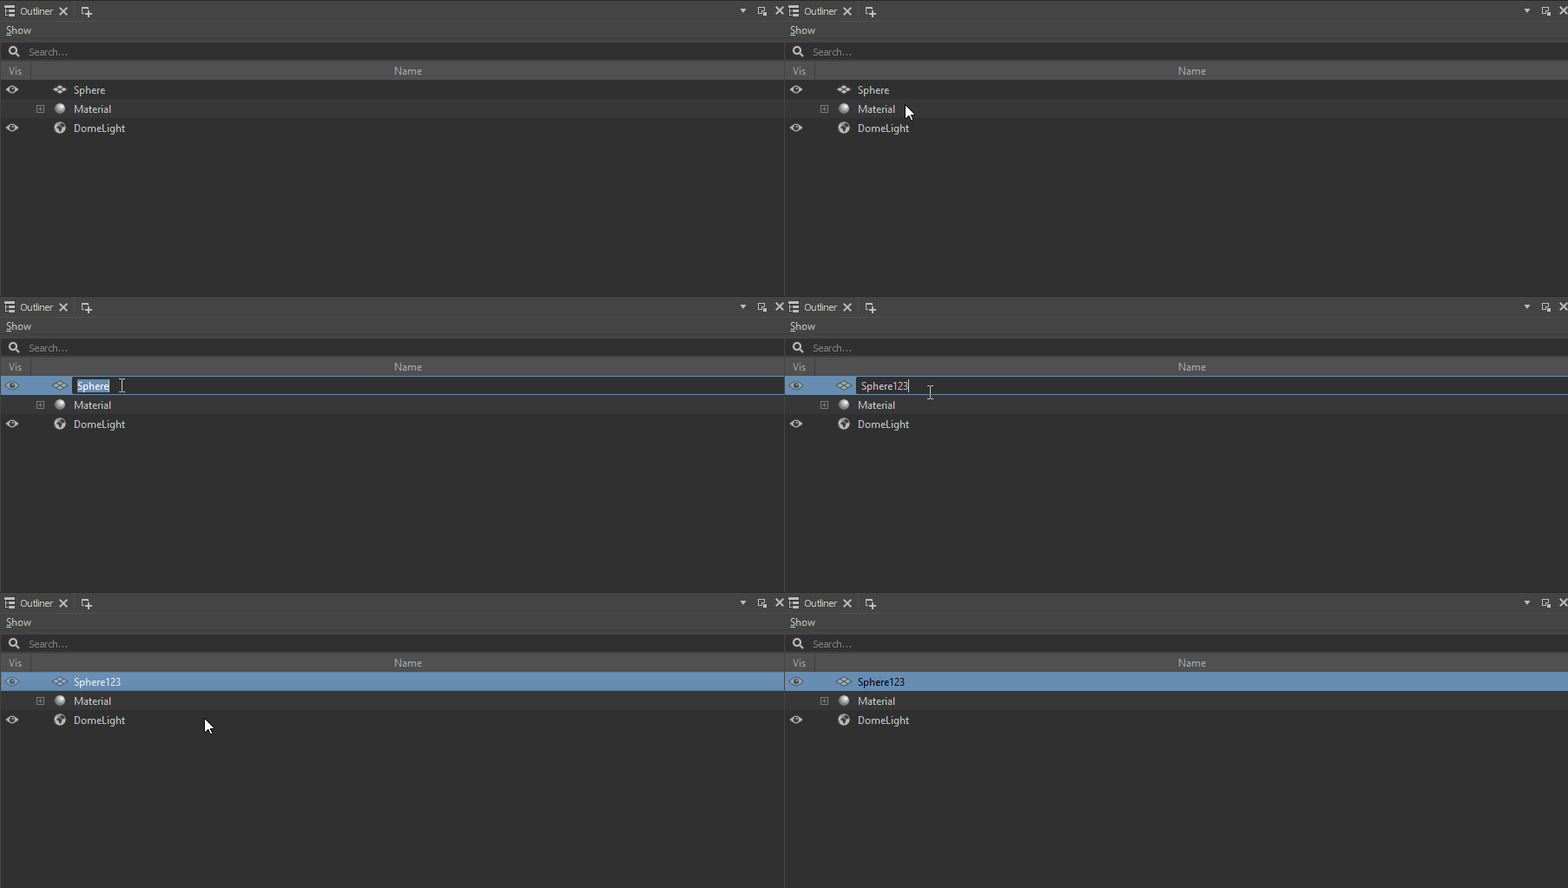
The Prims can be renamed by double-clicking on its name:
Deactivating Nodes
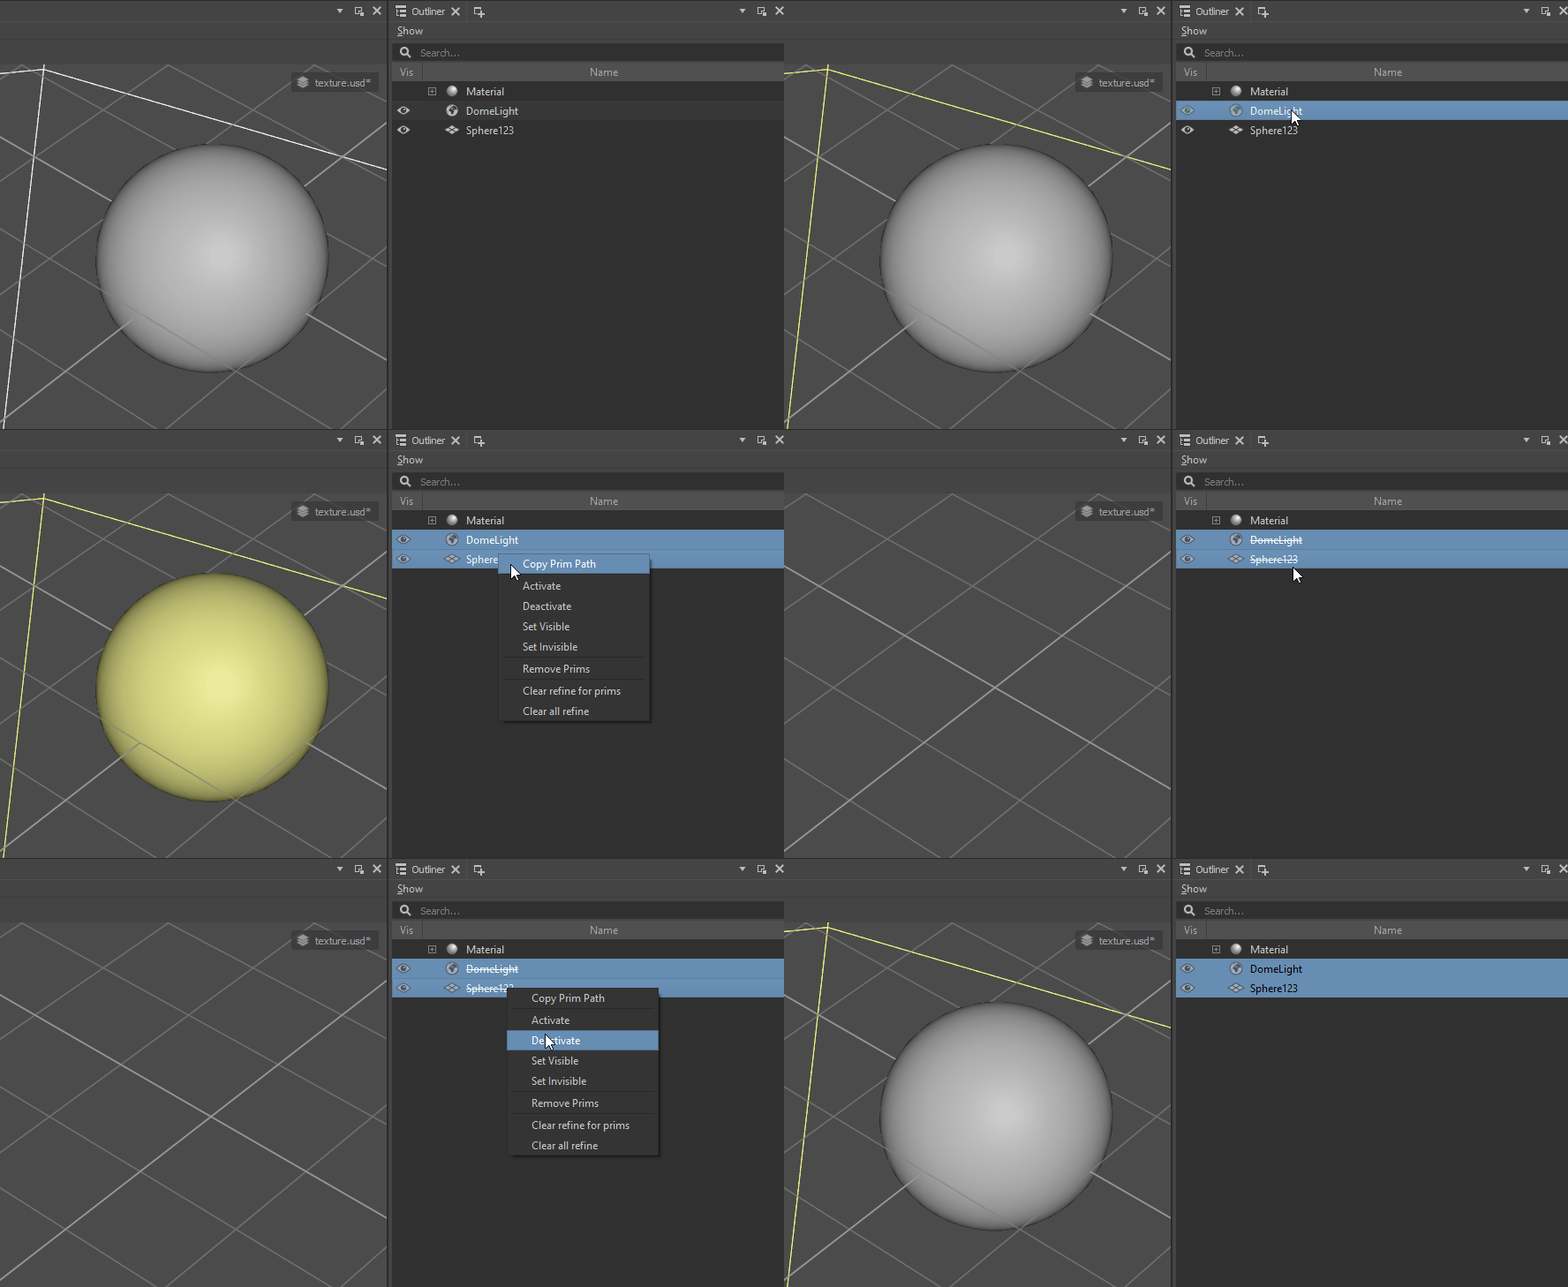
The Prims can be Deactivated using the Outliner’s context menu. Click with RMB on the prim and select the Deactivate option to set it as Inactive. Use the Activate option to set the prim as active again.
The visibility of inactive nodes can be toggled in the Show menu’s Inactive Prims option.
If this option is enabled, inactive nodes are displayed as crossed out text in the Outliner, the child components of such nodes are not shown:
Controlling Node’s Visibility
The Nodes can be also be toggled using the RMB context menu. The difference between controlling visibility and Activating/Deactivating Nodes is that visibility control affects the appearance of nodes within the scene viewport, whereas activating/deactivating nodes determines whether they are considered in the Scene computation.
It’s important to note that toggling visibility does not alter the active state of the node. Even if a node is hidden from view, it may still be considered active and affect simulations or other aspects of the scene. Conversely, deactivating a node makes it inactive in terms of computations, but it may still be visible in the viewport depending on the visibility settings.